WAMP环境搭建之APACHE配置03-25

Apache官网如是说:‘The Apache HTTP Server Project is an effort to develop and maintain an open-source HTTP server for modern operating systems including UNIX and Windows NT. The goal of this project is to provide a secure, efficient and extensible server that provides HTTP services in sync with the current HTTP standards.
Apache httpd was launched in 1995, has been the most popular web server on the Internet since April 1996, and celebrates its 20th birthday as a project this February.
The Apache HTTP Server ("httpd") is a project of The Apache Software Foundation'.
百度这样说:‘Apache是世界使用排名第一的Web服务器软件。它可以运行在几乎所有广泛使用的计算机平台上,由于其跨平台和安全性被广泛使用,是最流行的Web服务器端软件之一。它快速、可靠并且可通过简单的API扩充,将Perl/Python等解释器编译到服务器中。同时Apache音译为阿帕奇,是北美印第安人的一个部落,叫阿帕奇族,在美国的西南部。也是一个基金会的名称、一种武装直升机等等’。
我说:综上的意思Apache当前仍是Web服务器软件的老大,因为他的开源之路,集合的互联网人的力量,一直在优化,一直被使用,一直在强大。
下面说一下,在Windows下的安装:
1.下载软件安装包:
百度网盘下载:http://pan.baidu.com/s/1c0nOKxU
官网下载:http://windows.php.net/download#php-5.4
2. 下载完成后,双击安装包
httpd-2.2.22-win32-x86-openssl-0.9.8t.msi,出现以下->NEXT;
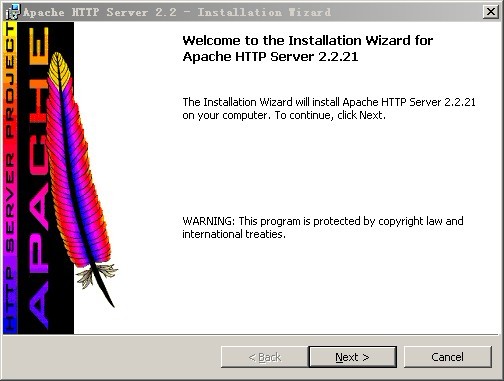
3.选择I accept.....--->NEXT;
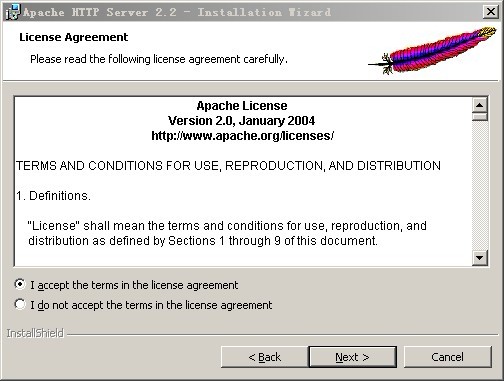
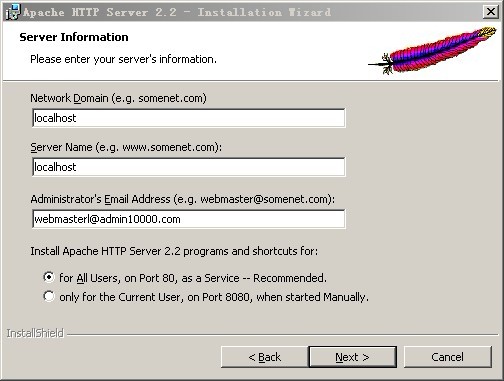
4.NEXT;

5.如图所示,第一框:域名(dangbingren.com),第二框:网址(www.dangbingren.com),第三框:管理员邮箱地址,本地安装以上填写内容不限;下面的选项是选择端口的,第一个就可以,所有用户运行apache服务时,统一使用80端口;---->NEXT
6.第一个选项,是默认完全安装(安装目录软件自己选择);第二个选项可以自定义软件的安装选项;---->NEXT
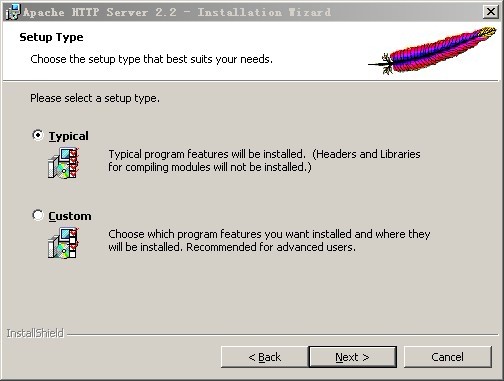
7.此步骤可以修改安装目录;->NEXT
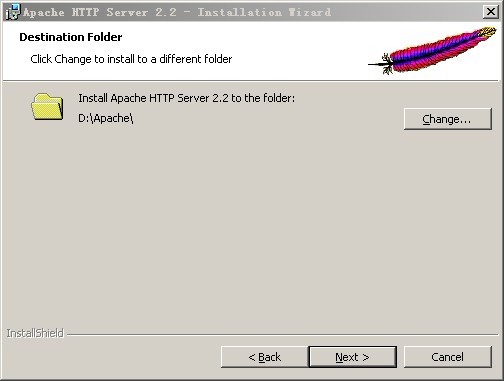
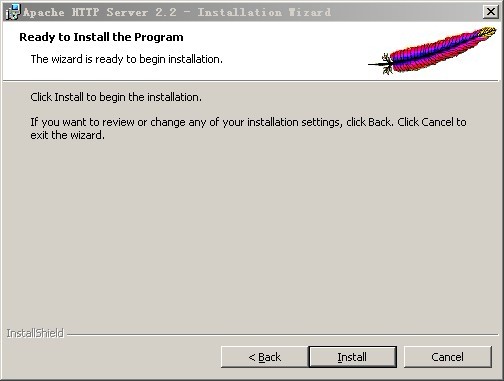
8.配置修改完成,开始安装--->Install;
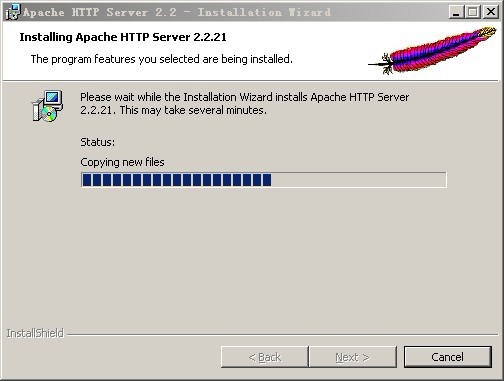
9.安装中....勿动
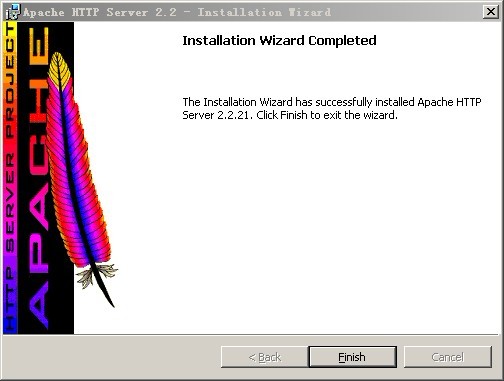
10.安装成功--->finish
11.检测
在浏览器的URL中输入localhost,若显示'It works!!',成功。
若是安装完成后,电脑屏幕的右下角的服务图标这样显示:

正常启动状态
无法启动或者服务停止状态
- CURL的配置使用 2015-05-26
- Maximum execution time of 30 seconds exceeded故障解决 2015-03-20
- HTML实体的妙用 2015-03-03
- PHP代码中的一句话木马 2015-03-03
- PCRE(正则表达式)匹配中文最权威汇总 2015-02-11





 PekingPiao.com
  DangBingRen.com